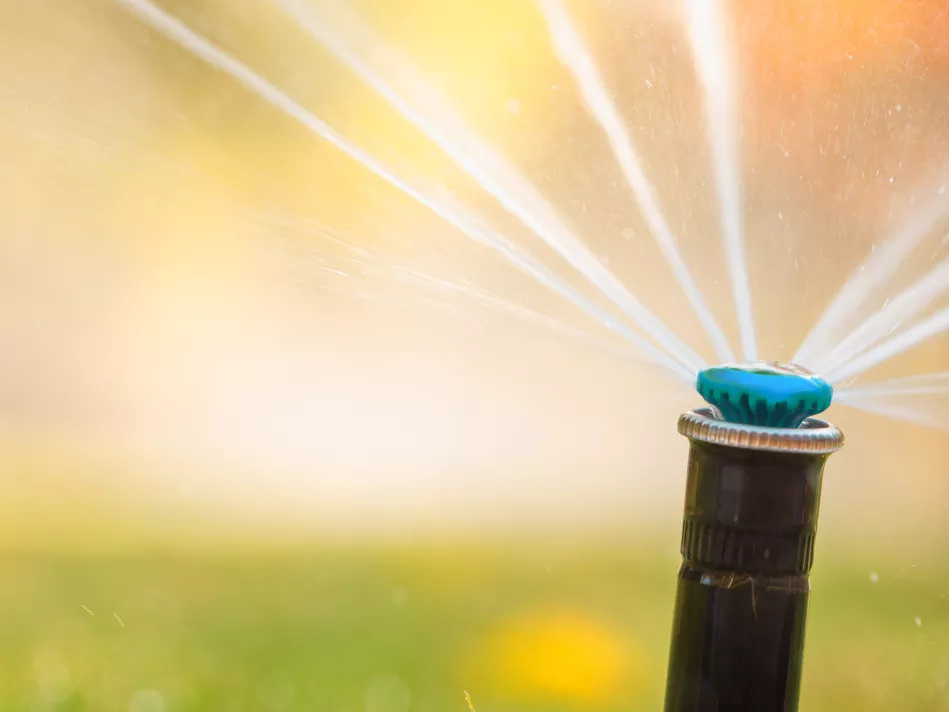
Watering your lawn can be so seamless, you don’t even have to think about it – until a sprinkler head gets clogged. Use the info below to remove the clog and keep your sprinkler heads working for dozens more lawn waterings and jumps through the backyard sprinkler system.
Pro Tip: Turn off any timers/water sources and check your owner’s manual before beginning any sprinkler system inspections or repairs.
Signs of a sprinkler clog
If you notice any/a combination of the signs below, one or more parts of your sprinkler system may be clogged. Taking care of the issue sooner than later can make it easier to be resolved.
- Lower water pressure
- Misting instead of spraying
- Clogged sprinkler pipes
- Leaks near the base of the sprinkler head (especially after mowing damage)
- Rust on any concrete, patio furniture, or cars in the spraying path of the affected sprinkler
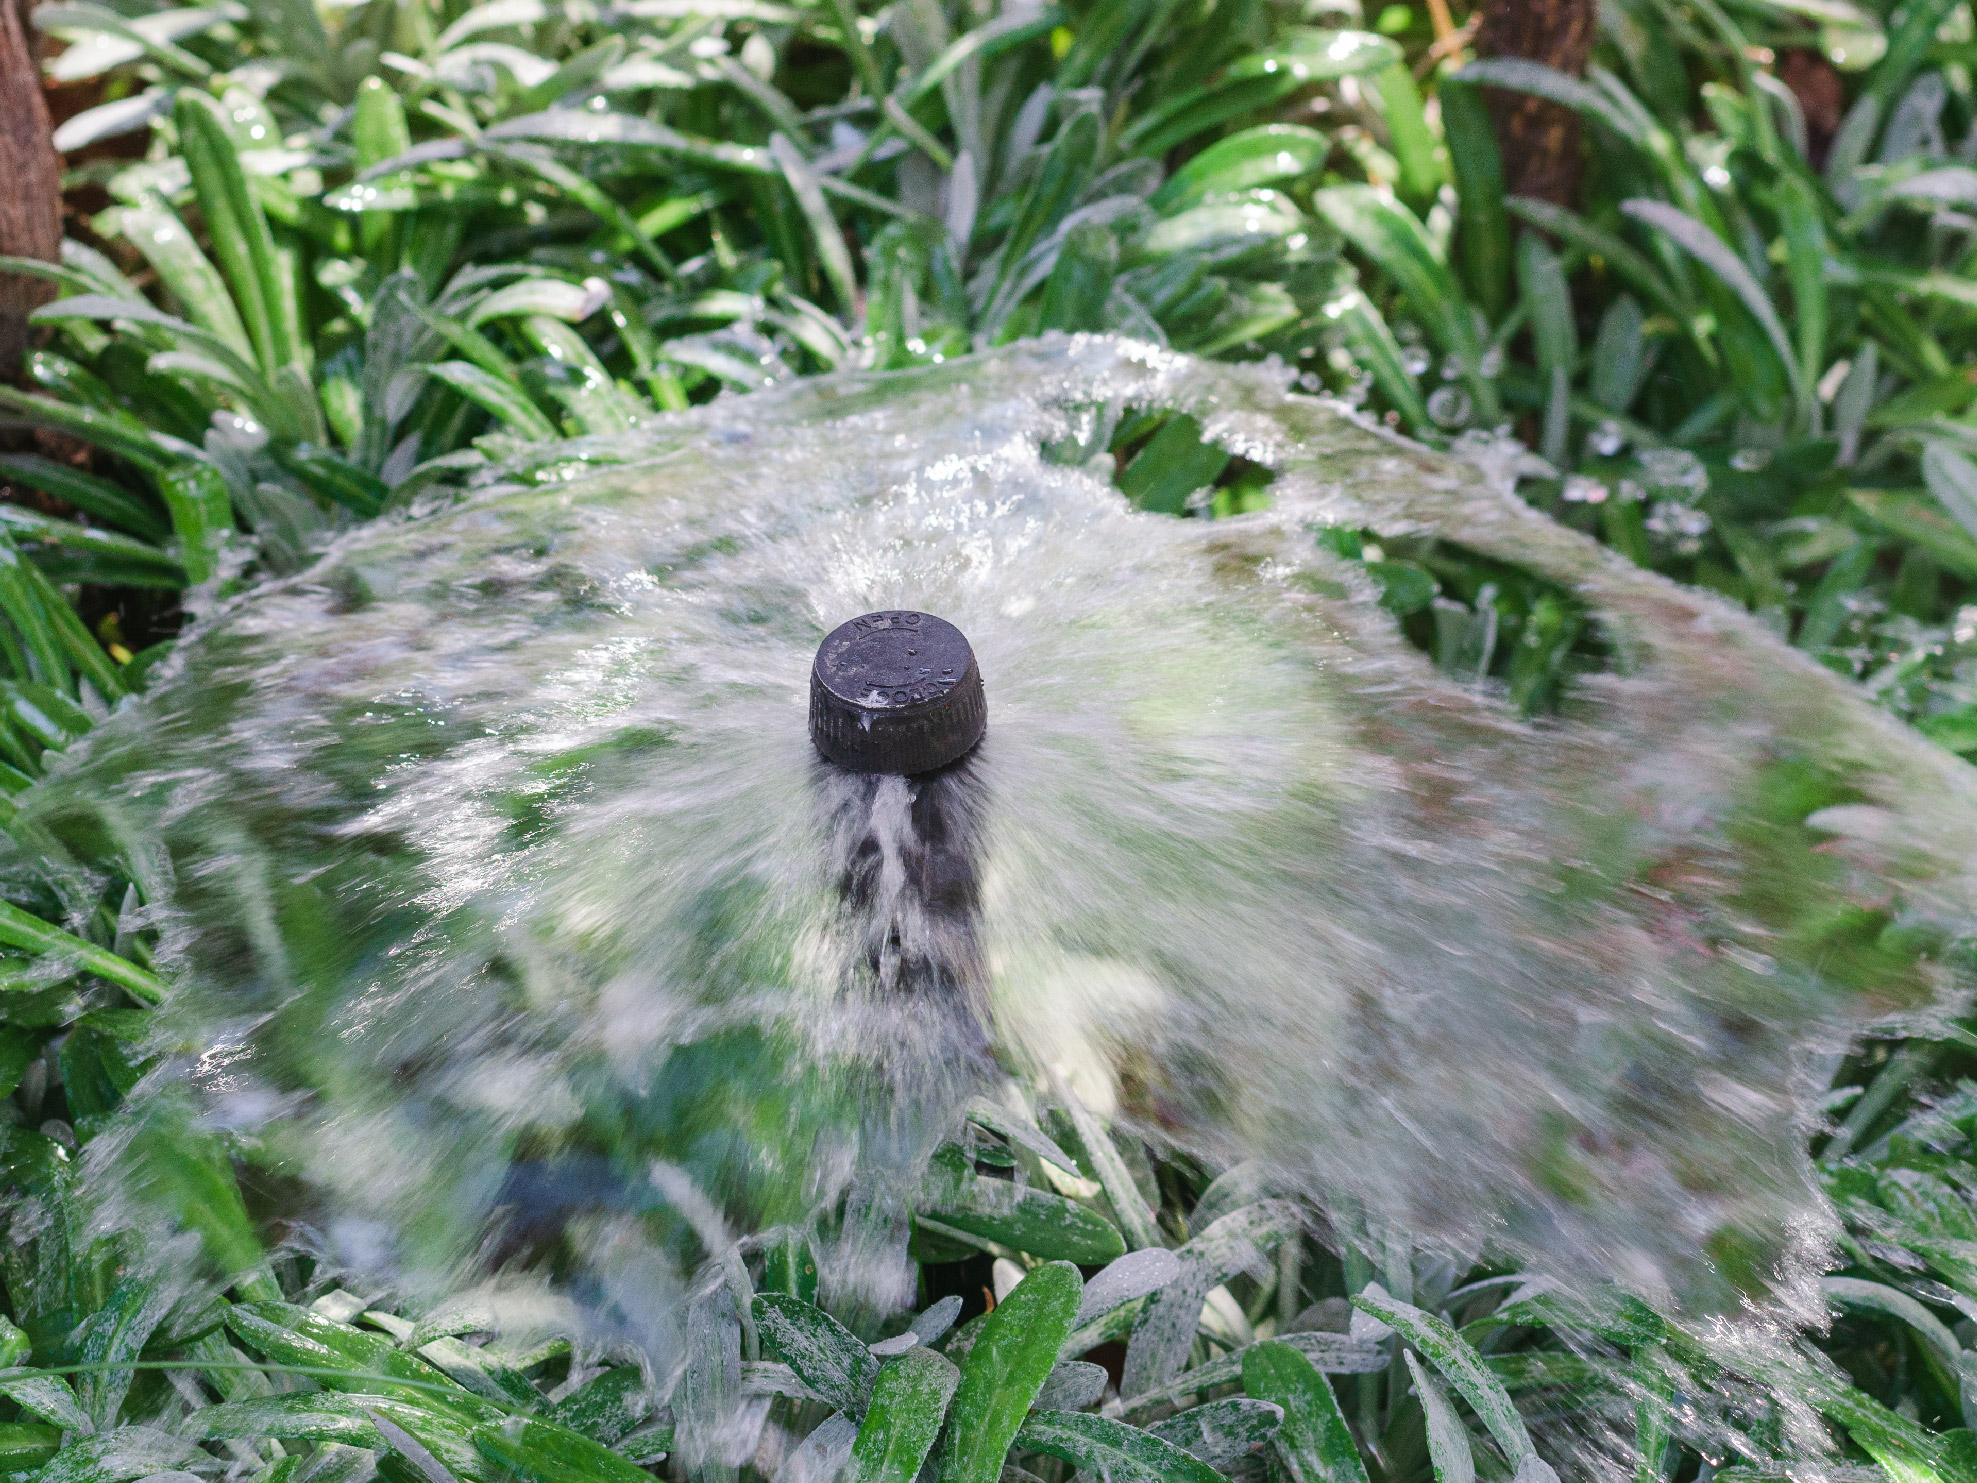
What causes a sprinkler clog?
Most sprinkler clogs are caused by a buildup of mineral deposits (from rust, calcium, magnesium, or iron), dirt, and/or debris filling up the sprinkler head or the hose/plumbing attached to it, which stops the flow of water.
Clog prevention equipment
Did you know you can prevent clogs with a few easy steps? Use the following items or make a quick trip to your local hardware store for this short list of de-clogging tools that could save you hundreds in repair costs.
- Microfiber cloths ($1-$10)
- Toothbrush ($1-$5): Use an inexpensive toothbrush to dig debris out where fingers can’t easily reach (They’re also great for getting gunk out of the toilet bowl!)
- Sprinkler guard ($5-$10): During the watering season, sprinkler guards keep debris out while leaving room for water to flow
- Sprinkler head cap (under $5): Cover your sprinkler head(s) with these to keep dirt and debris out from winter to spring
Cancel that clog!
Now that we’ve established the source of your clog, it’s time to get rid of it! Review your owner’s manual, and let’s get to work!
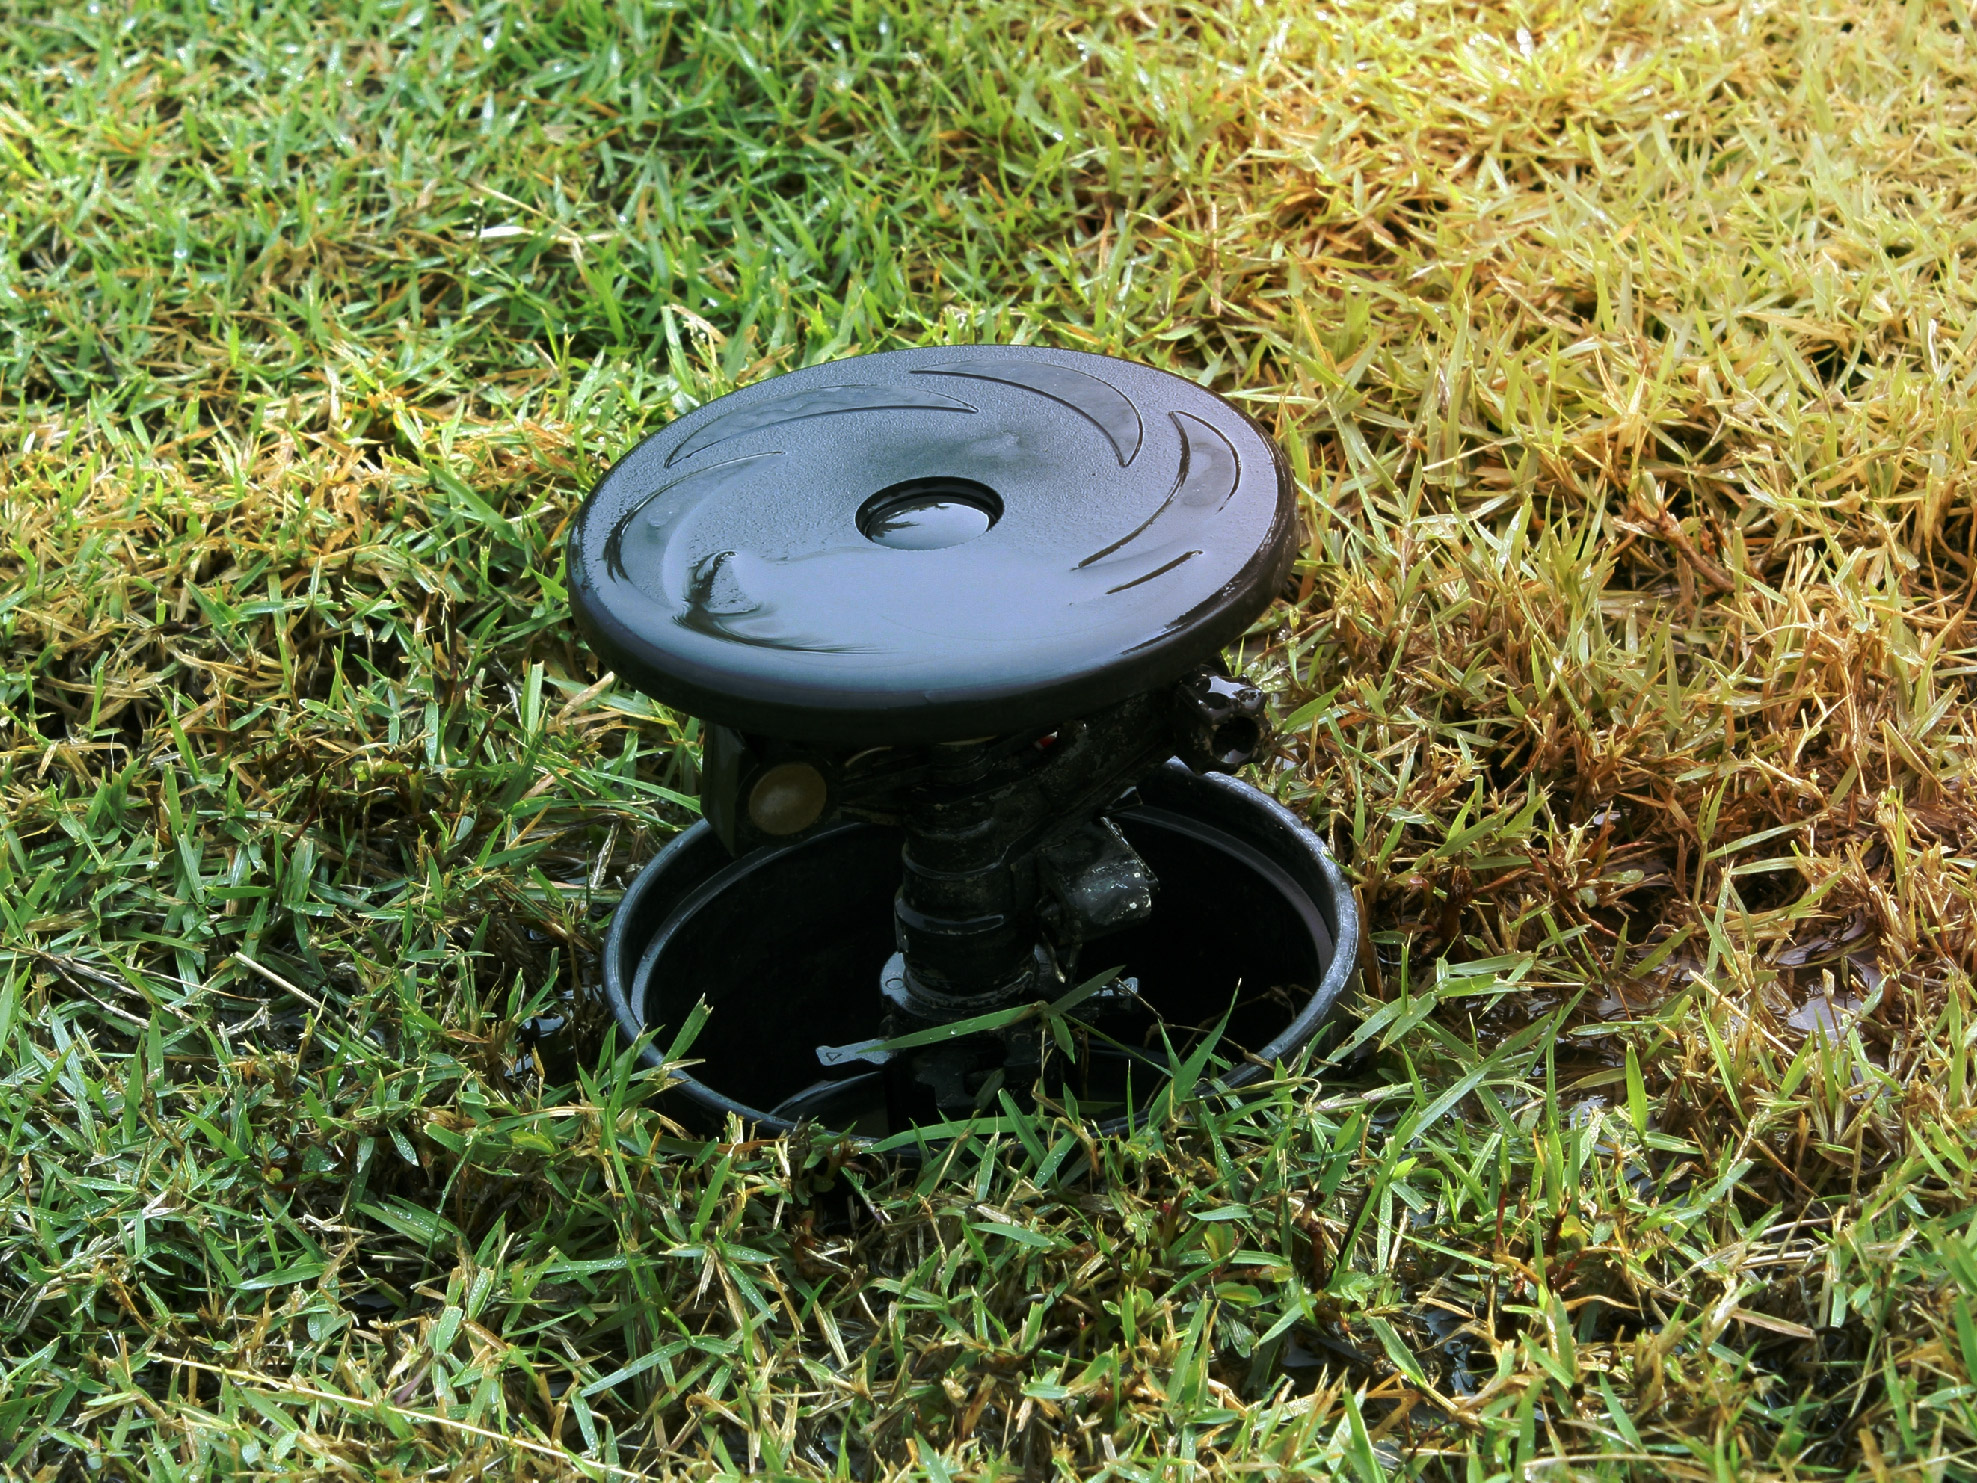
Level 1: Minimal buildup
If you notice some a light layer of dirt or debris on your sprinkler head (like after mowing the lawn), wipe it off with a microfiber towel.
Level 2: Moderate buildup/mineral deposits
For dirt or debris that’s a bit caked on, use a toothbrush to get in there dislodge any foreign object before wiping it clear with a microfiber cloth. Use compatible solutions to help break things up, as needed.
Level 3: Moderate mineral buildup
To get rid of mineral deposits, keep the microfiber towel and toothbrush, and grab gloves, a bucket full of warm water, and a cleaner designed to remove rust, calcium, and/or other mineral buildup.
Per instructions, dilute the cleaner with warm water only in an area with great ventilation. Remove the buildup-covered sprinkler heads and dip into the cleaner/water solution before using the toothbrush to scrub away any mineral deposits. Wipe with microfiber cloth as you go to check progress.
If your sprinkler head is designed for it, submerge it as needed to make it easier to clean. Once it’s clean, spray or submerge it in cold water before wiping for a final check with a new cloth and reattaching.
Pro Tip: Whenever you clean the sprinkler head and its related parts, check for damage. Noticing a need for repairs early can help you save water, money, and time.
Clear your sprinkler heads biweekly, and check your sprinkler system’s plumbing at least once a month to make sure everything’s in working order.
Look at that – you’re a sprinkler head de-clogging genius!
Do you have your own trick for removing clogs from sprinkler heads? Share your sprinkler system tips with us on Facebook, LinkedIn, or Instagram!